
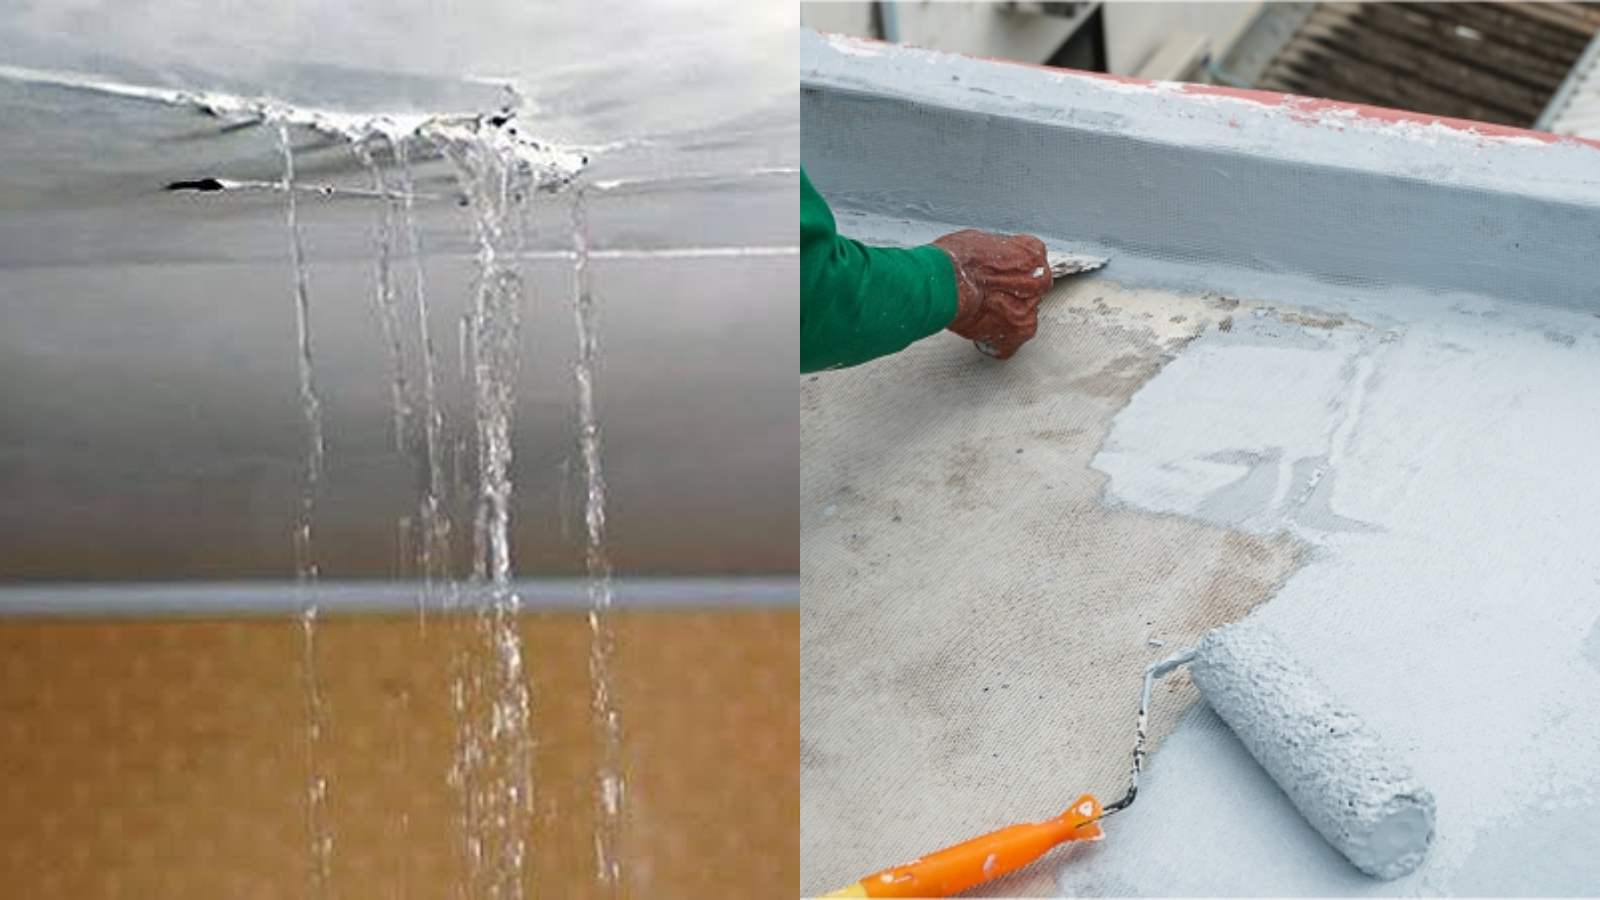

A roof leak can escalate from a minor annoyance to a major structural problem if not addressed promptly. Water entering through even a small crack can damage ceilings, walls, insulation, and electrical wiring, leading to costly repairs. The good news is that you can fix most leaks using basic materials and a bit of careful detective work. The first step is locating the actual source of the leak, as the spot where water drips from your ceiling is rarely directly below the roof hole. Water often enters the roof and travels along beams or pipes before dripping down.
To find the source, go into your attic or crawlspace with a flashlight during a rainstorm and look for wet tracks, damp insulation, or water stains along the wooden framing. If it isn’t raining, have someone stand inside looking for drips while you slowly run a garden hose over different sections of the roof outside. Once you have identified the leak, there are several quick fixes you can apply depending on the situation. For visible cracks, tears, or small holes on the roof surface, clean away the dirt and apply a heavy-duty, waterproof flashing tape or butyl rubber tape directly over the leak, pressing down firmly to seal it. For cracks and gaps around exhaust pipes, chimneys, or exposed roof nails, purchase a tube of outdoor silicone caulk or rubberized roofing cement along with a caulking gun. Squeeze the sealant directly into the affected areas and smooth it down with a putty knife. If the leak is severe and it won’t stop raining, the tarp method is your best emergency option.
Unroll a heavy-duty plastic tarp over the leaking section, secure the top edge over the peak of the roof so water cannot run under it, and weigh the edges down with sandbags or bricks. Do not nail the tarp down, as this creates new holes. Also, remember to clean your gutters regularly, as blocked gutters force rainwater to back up under your roof tiles or shingles and cause leaks along the edge of your house. For a permanent, professional-grade solution, using Dr. Fixit Roofseal Classic or Roofseal Select is the most trusted way to eliminate roof leakage at home. This system creates a thick, seamless, elastic rubber membrane that bridges cracks up to 2 mm and can even reduce roof surface temperature by up to 10 degrees Celsius. The application process begins with deep surface preparation, which is the most critical step. Wash the entire roof thoroughly using high-pressure water and a wire brush, scrape away all loose concrete, moss, dust, grease, and old flaking paint, and let the surface dry completely. Next, fix all visible cracks, structural joints, and gaps around drain pipes by cleaning them out and filling them tightly with Dr. Fixit PU Sealant or Crack-X Shrinkfree paste. Smooth it down with a putty knife and let it cure.
After the cracks are sealed, apply the self-priming coat by mixing Dr. Fixit Roofseal and clean water in a 50:50 ratio or using Dr. Fixit Primeseal. Apply this diluted layer evenly across the roof with a roller or large paintbrush, making sure to coat up the base of the parapet walls by at least one foot to seal the corners. Let it dry for four to six hours. Then apply two undiluted layers using the cross-coating method. Apply the first main coat smoothly across the entire roof surface in one direction and let it dry completely for four hours. Apply the second main coat undiluted and perpendicular to the first coat, ensuring no microscopic patches are missed. Finally, restrict all foot traffic and keep the area clear, allowing the roof to dry and fully cure for seven days to build its maximum waterproof strength and elastic durability. Always prioritize safety by never walking on a wet or icy roof, wearing shoes with rubber soles for maximum grip, and having someone anchor your ladder at the bottom.
